I've got on with cutting up the shed/greenhouse so there's a bit less of it. That bit was pretty easy; it's putting it together in a decent state that might be more of a problem. I've secured it all so that it won't fall down, but it needs a new wall with a door and I'd like to get some light in through the roof too.
Here's the inside with a pallet that will be one side of my first compost bin. I scrounged that from an electrician's supply shop down the road. Their neighbour wasn't so obliging, so I've only got two for the moment. The pallet compost bin is an allotment classic, implemented by a lot of the folks down here, though quite a few of them have got new ones from
here. In fact, many of them have a monster one that I tried to order (the soil saver 600), but is now out of stock. As you can see from the link, they don't offer it any more. Probably because every allotment in the UK has at least 40 of them.
Cornwall is sold out of them too.
Here's the other side with some bits of the old side wall. I thought I'd save them just in case something falls to bits. My neighbour, who I met for the first time today, tells me that the raspberry canes that were put in the greenhouse (no idea why anyone would do that, and nor does he) are more than 15 years old. He knows this because he's been at NVG that long. That means they are well past their best. They are a bonus find, however, so I'm going to try them out and see. I might intersperse them with fresh canes.
I almost cleared the back of the shed. I didn't get the before shot of this one. I've gained 1.5m extra allotment here and this is where I'm putting my compost bin and random wood.
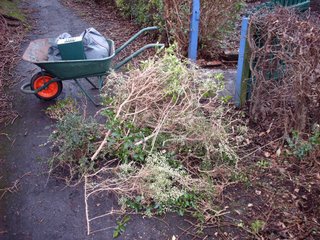
You can see the remains of the old compost heap. It was surrounded by hard plastic sheeting, which I've taken away to the coup. There's still a strange red plastic basket with some in.

The bricks and rubble are all from behind the shed; they were buried in the ground or scattered under lots of ivy. I'm going to use them for path edging.
Finally, here's what I did with most of the compost from behind the shed. The photos don't do it justice, because it looks great. There's nothing like a good layer of garden compost to enliven an autumn or winter border. I'm hoping for some fine rhubarb next year.


